


Video post-production used to be an expensive and inaccessible skill. But with the improvement of technology and chips, it is now possible to edit comfortably from an entry-level laptop such as a MacBook Air M2.
This democratization is also due to the improvement of video editing software and its ergonomics. It’s even possible to do it from a tablet or a phone these days. But when it comes to doing it professionally, the most famous softwares have always been Apple Final Cut and Adobe Premiere Pro. Nowadays, every content creator is slowly switching to a fairly recent piece of software: Black Magic DaVinci Resolve.

OUR SPONSOR OF THE DAY : NEONNIGHT.FR

Introduction
Video has never been as consumed as it is today. I think it’s pretty weird that they don’t teach the basics of video production in school since the most used website in the world after Google is YouTube.
I’ve personally always felt like video is an easier form of content to digest than writing. Perhaps I am simply more lazy, but there’s definitely something more direct about watching someone speak rather than read his writing.
That’s why I think knowing how to produce video is as important as writing today.
Why use DaVinci Resolve?
I’ll be honest: DaVinci Resolve was originally a software aimed at colorists. DaVinci Resolve is what Adobe Photoshop is for photography. Of course, it was not as mainstream, but it was still a very nice tool for beginners and professionals.
One thing it had going for it was that it was entirely free at the time. Now you can still get the free version and edit content, but some features, such as working on 10-bit files, will only be available on the premium version. Basically, this software is free for amateurs, and if they love it, they will end up using it as professionals.
Today, DaVinci Resolve is perhaps the most complete software in the sense that you can cut, edit, grade, and export the final video all within the same software. Before, you had to do each step using different software and do some exporting between each one of them.
A list of movie edited and color-graded in DaVinci Resolve Studio
DaVinci Resolve has been used for the color grading and/or editing of feature films such as :
- Alien: Covenant
- Avatar
- Best of Enemies
- Deadpool 2
- Jason Bourne
- Kingsman: The Golden Circle
- La La Land
- Love & Mercy
- Pirates of the Caribbean
- Prometheus
- Robin Hood
- Spectre
- Star Wars: The Last Jedi
- X-Men: Apocalypse
These aren’t by any means low-budget movies, and some of them actually have the best directors and photographers involved.
All these examples indicate that it is unlikely that your video project will be limited by this software.
How hard is it to learn?
I won’t lie to you; the first time you use the software, it will be pretty hard to understand what all these menus do. But after a while, everything will make more sense to you.
For example, I’ve learned to use this software on my own within the last few months. Of course, I am not proficient yet, but even my wife knows how to cut and export in DaVinci Resolve.
She only used it a couple of times, but now she can do everything from import the media to export the project.
Of course, sometimes to find a feature, you’ll have to Google a bit and sometimes hassle with the different versions. But what I mean is that it’s the kind of software you can learn as an autodidact.
Do I need a powerful computer?
Technically, you only need a powerful computer if you want to work with high-resolution media. Standard 1080p videos are still manageable on my 2015 base-model MacBook Pro.
Of course, it’s perhaps not the smoothest experience, but if your computer is fairly recent, I don’t think you should have a problem editing on your machine.
On the other hand, if you really want to work on some high-resolution 4K files (10 bits or RAW), you’ll definitely need a specialized tool. Honestly, it’s not as expensive as it used to be.
A simple Apple Mac Studio from 2022 should do the job perfectly. With this, you’ll need a well-calibrated monitor. The bigger the better, unless you are planning to do your post-production on the go like me. In this case, a MacBook Pro 16 M1 Max or M2 Max is your perfect choice.
How much does it cost?
Well, if your needs don’t include 10 bits of color depth, in this case, you can use the free version. I’ve personally used the free version for years.
If you are a professional photographer with advanced gear such as the Sony A7S III, in this case, I would suggest you get the premium version called Studio.
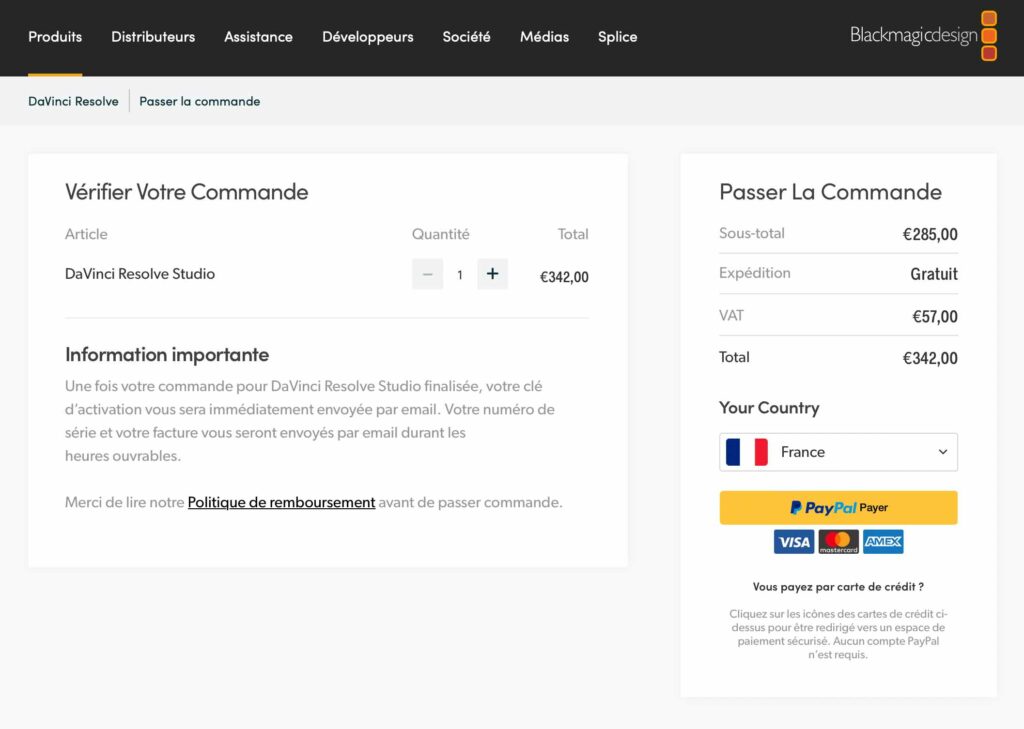
DaVinci Resolve Studio costs 285,00 € HT or 342,00 € TTC. Once you pay this price, you’ll have the software for life with a key and will benefit from all the latest updates as well.
In my opinion, it’s so much better than getting a monthly subscription for Adobe Photoshop and Lightroom, for example.
Do I need extra accessories?
Hard drives
Technically, outside of a computer and the software, you don’t need anything else. But in reality, you’ll probably need to get yourself at least some decent storage, such as external hard drives. Video editing is a very space-hungry activity. Your terabytes will soon be filled with rushes of all sorts.
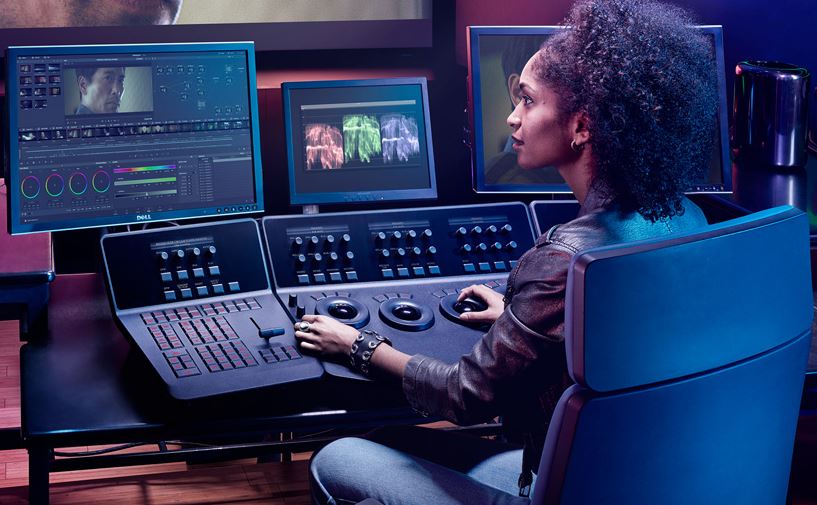
DaVinci Resolve Speed Editor
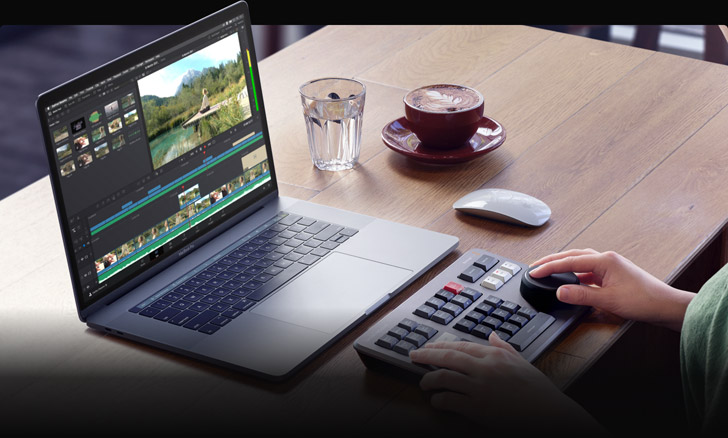
If I had to recommend one accessory, it would be the DaVinci Resolve Speed Editor. This is basically a keyboard with some short cuts that will let you import and cut very efficiently. Its wheel is very handy when it comes to browsing inside your footage.
If, like us, you are shooting some sort of long-form vlog, this tool is a must. We always use this tool to cut each video and split it apart. I think this is the most crucial part of creating good content.
Of course, you can edit without this tool, but you’ll save a lot of time with it and, more importantly, with this tool, which costs $448.00 TTC and includes Davinci Resolve Studio with a license.
So you’ll effectively pay 106.00 euros TTC for it, or less if you can find a discount. What a steal!
DaVinci Resolve Micro and Mini Panel
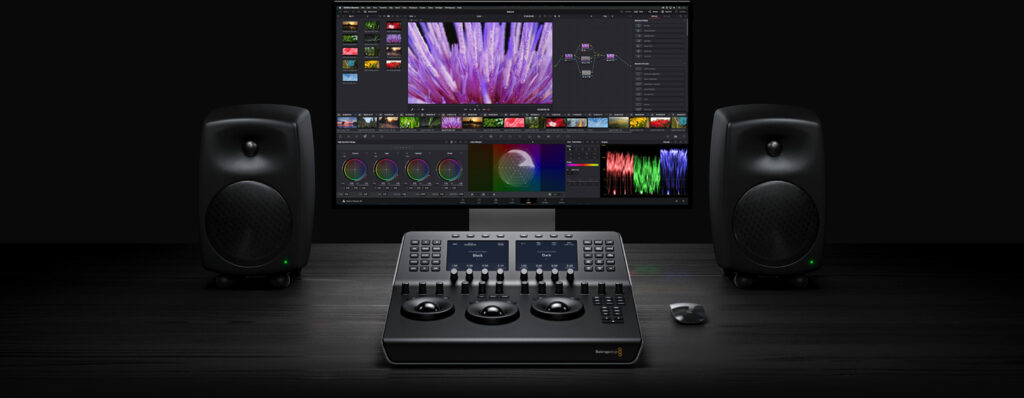
Well, this one is perhaps overkill for most people. Unless you are a professional colorist or inspire others to be one, I wouldn’t bother spending 2222.00 euros TTC for this mini panel or 888.00 euros TTC for a micro panel, as a matter of fact.
You are most likely going to be color-correcting your footage and applying some LUTS anyway, as an amateur. Grading is not an easy task to master; it requires years of experience.
How DaVinci Resolve works ?
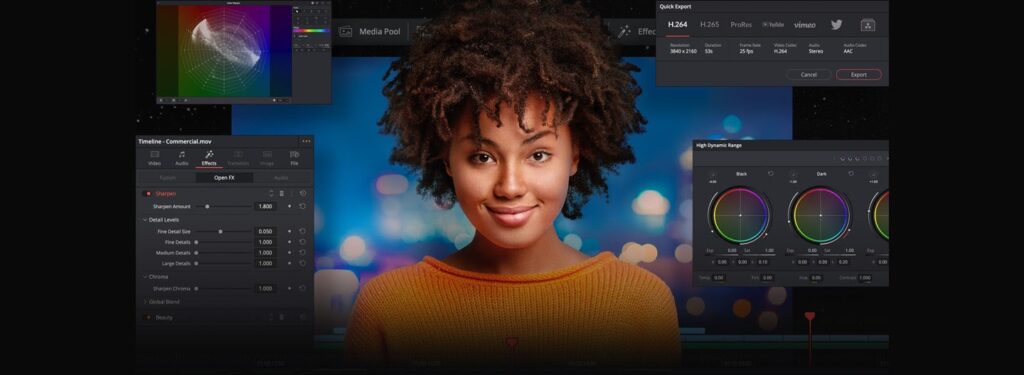
DaVinci Resolve Studio 18 is a complete tool, and as complete software, it has a lot to offer, which translates to tons of menus everywhere.
What I like about this software is that each step of the process is isolated in specific tabs, and these steps are in the perfect order:
1 – Media
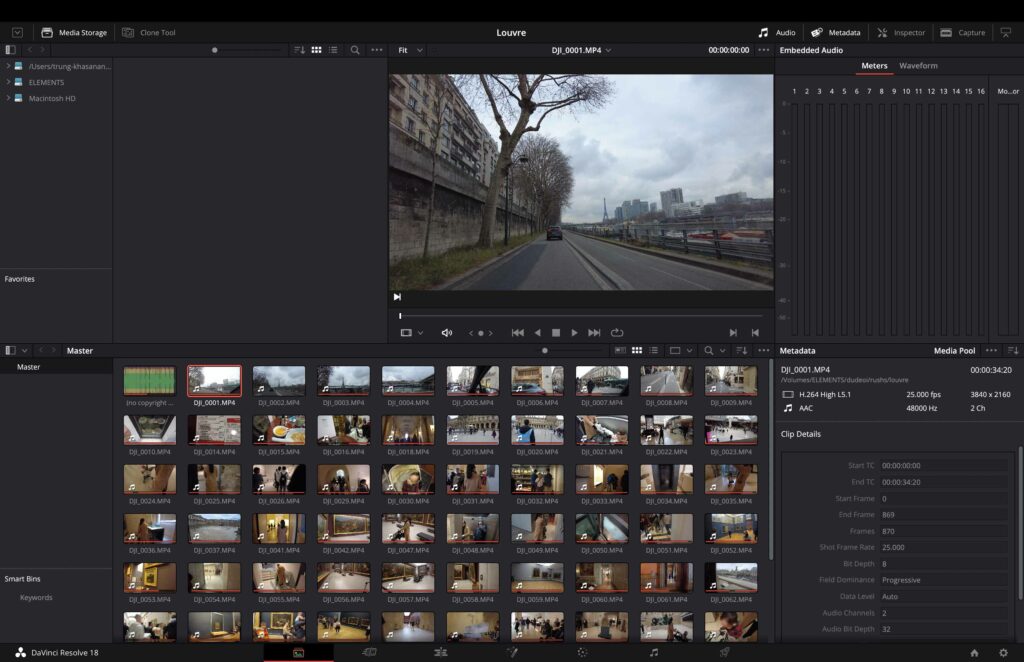
This tab is for importing and managing media such as videos, pictures, and audio files. You can actually see the original footage on this tab.
2 – Cut
This tab is for cutting your footage and importing it into your timeline; this is where a speed editor comes in super handy. You will decide which parts of your footage are worth watching or not.
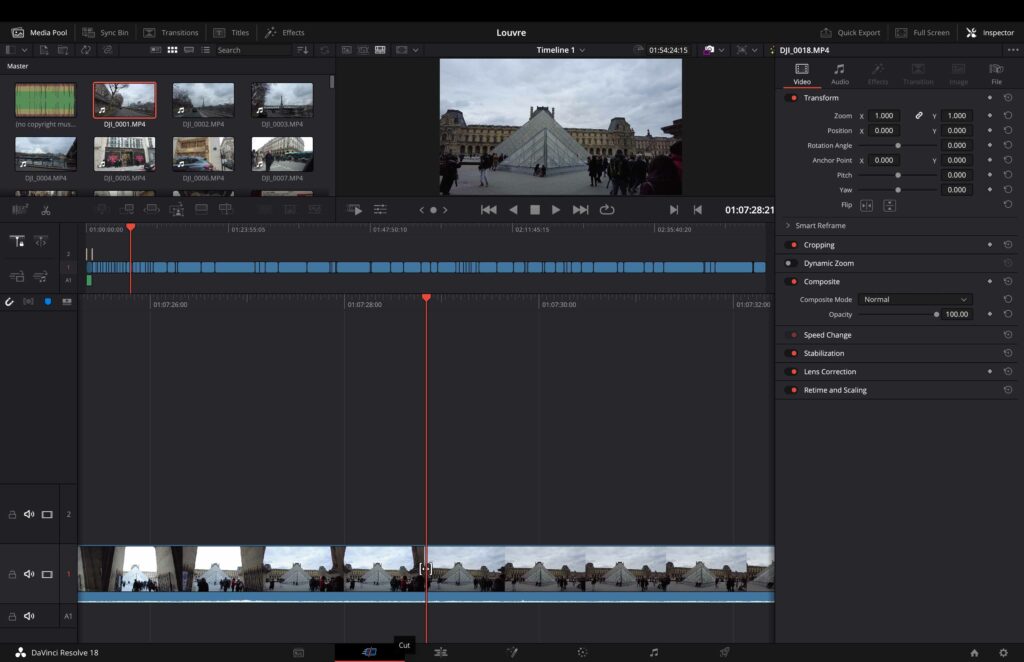
3 – Edit
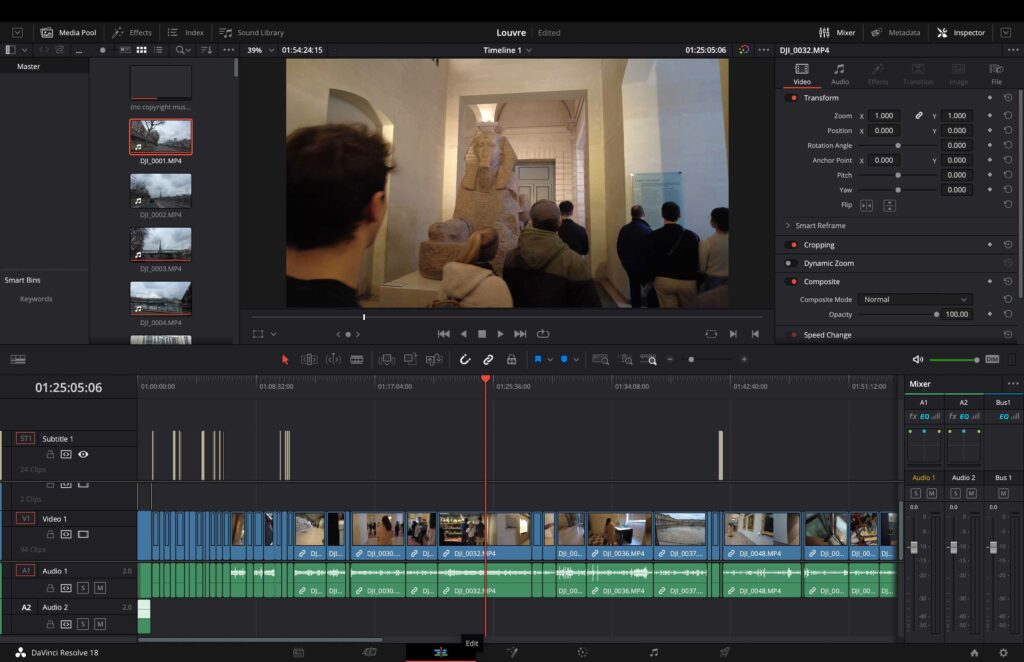
This is the tab where you can trim your footage, change the speed of the video, add some transitions, titles, subtitles, effects, etc. If your video is well cut, this will only be a refining process.
4 – Fusion
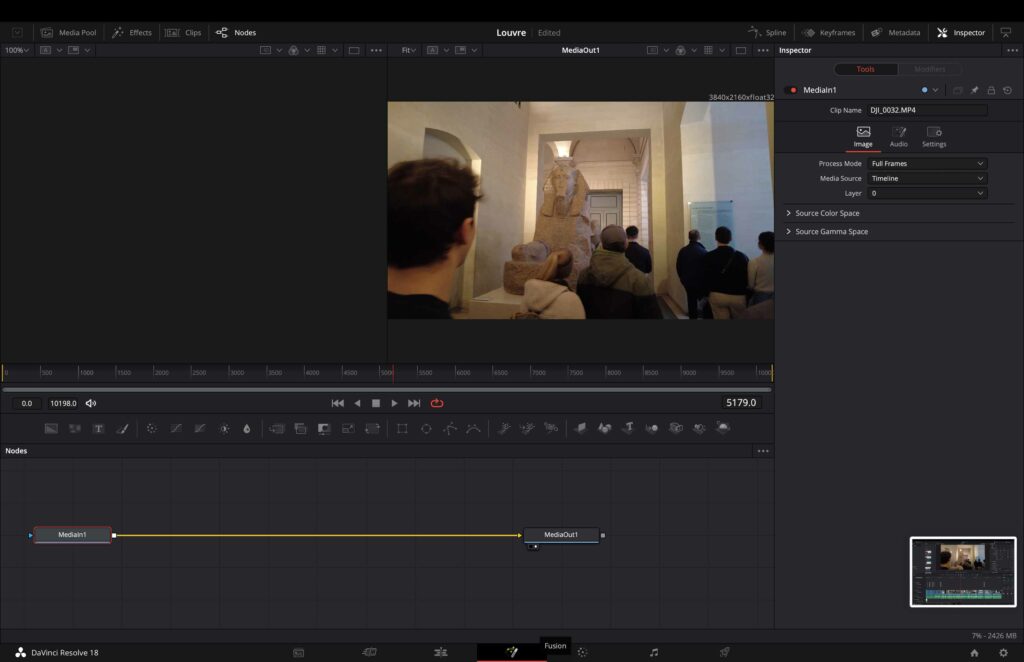
This tab is for adding overlayed pictures, text, emojis, and effects over your video, with some form of tracking as well. This tab I don’t master yet, but it is important to give some mood to your video.
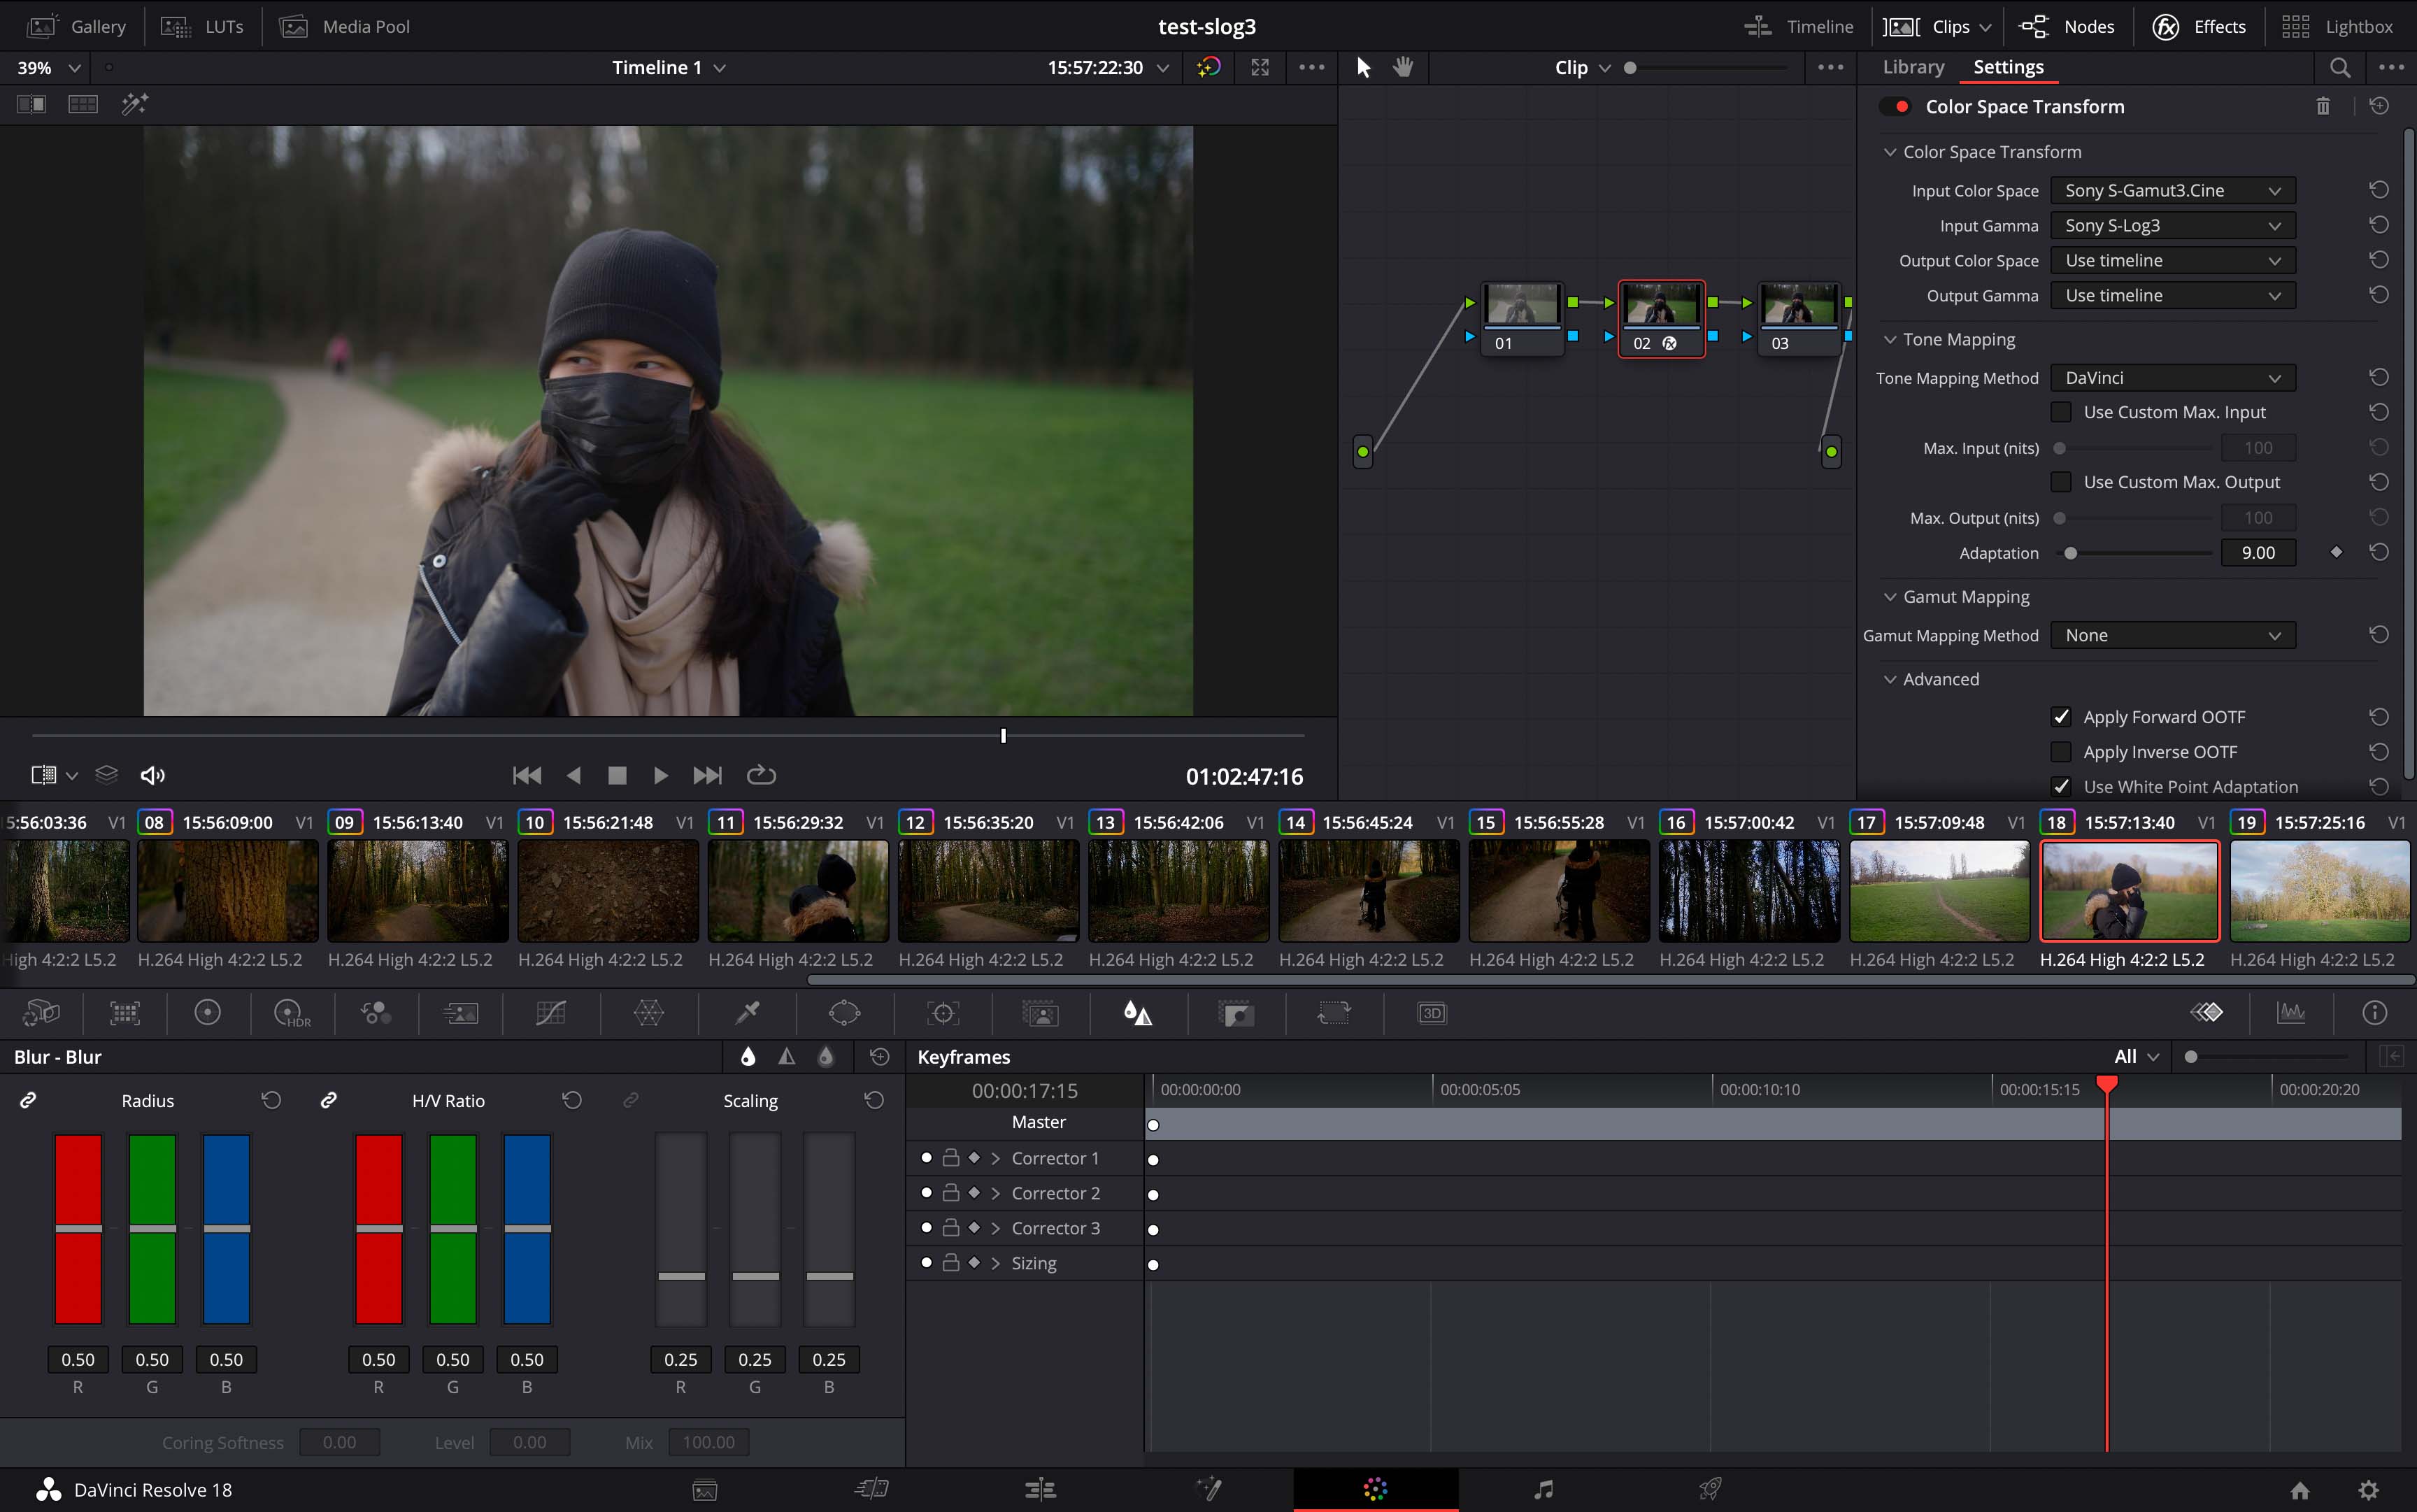
5 – Color
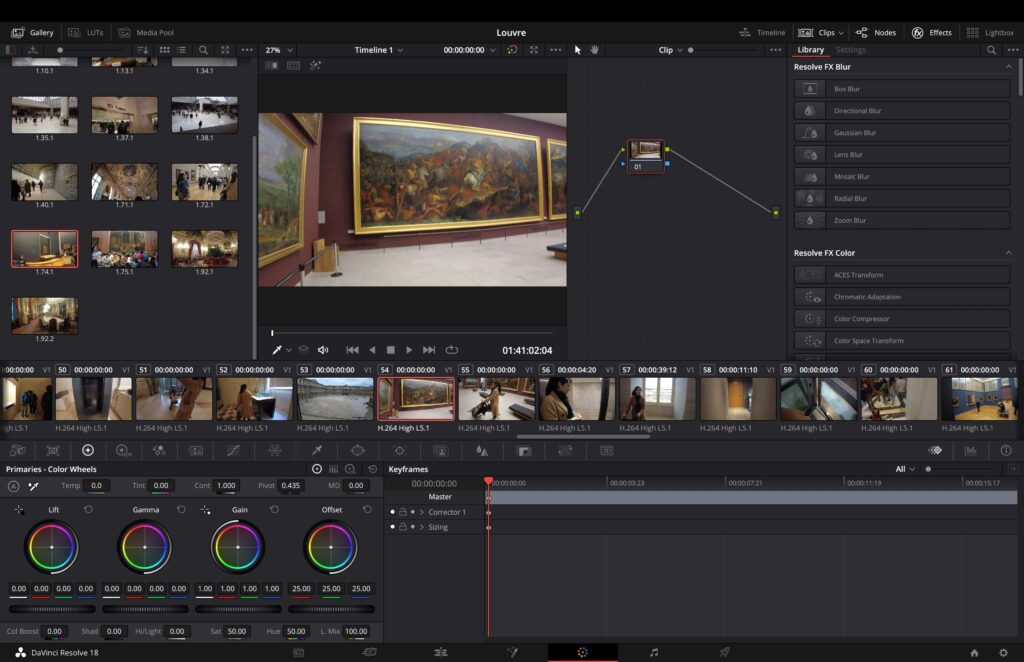
This is basically your Photoshop tab for color-correcting and grading your footage. It’s also for correcting exposition. I think you can also put in some effects, such as skin filters, etc.
I thought this was going to be the tab where I spend the most time as a photographer, but visuals are actually not as important as content for YouTube videos.
As for grading footage for clients, I’ve been working on DJI Pocket 2 footage as well as A7S III and Arri Alexa footage. Outside of the colorspace settings, it’s fairly intuitive to use this for color correction and grading.
6 – Fairlight
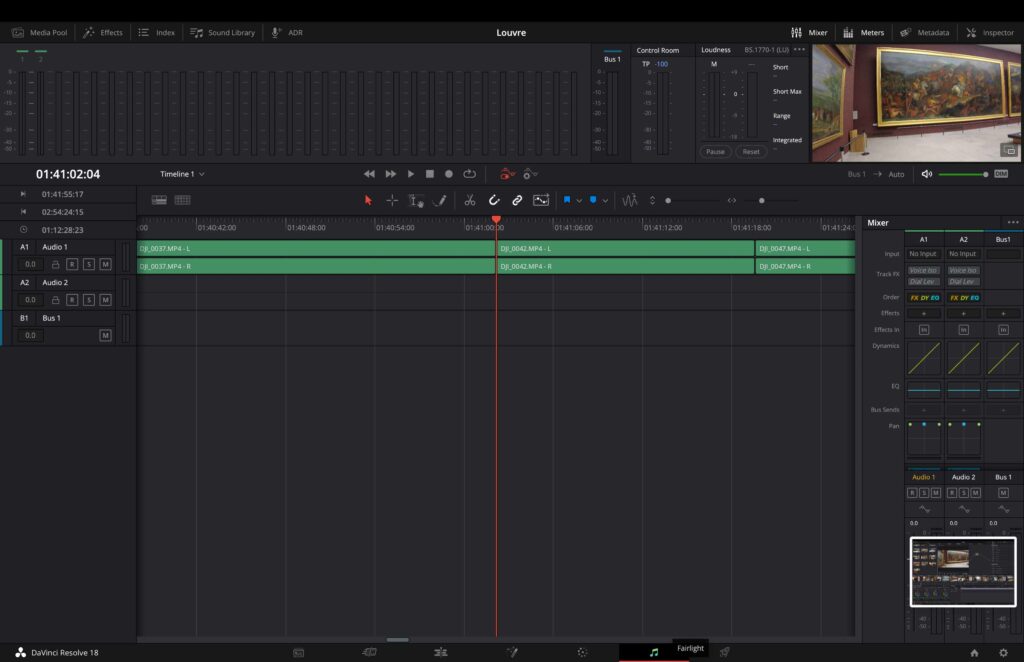
This is the tab for sound mixing; you can, for example, set levels, trim your audio, and add some smooth transitions as well. If you are adding any kind of sound effects or voiceover, this tab will be pretty important.
7 – Deliver
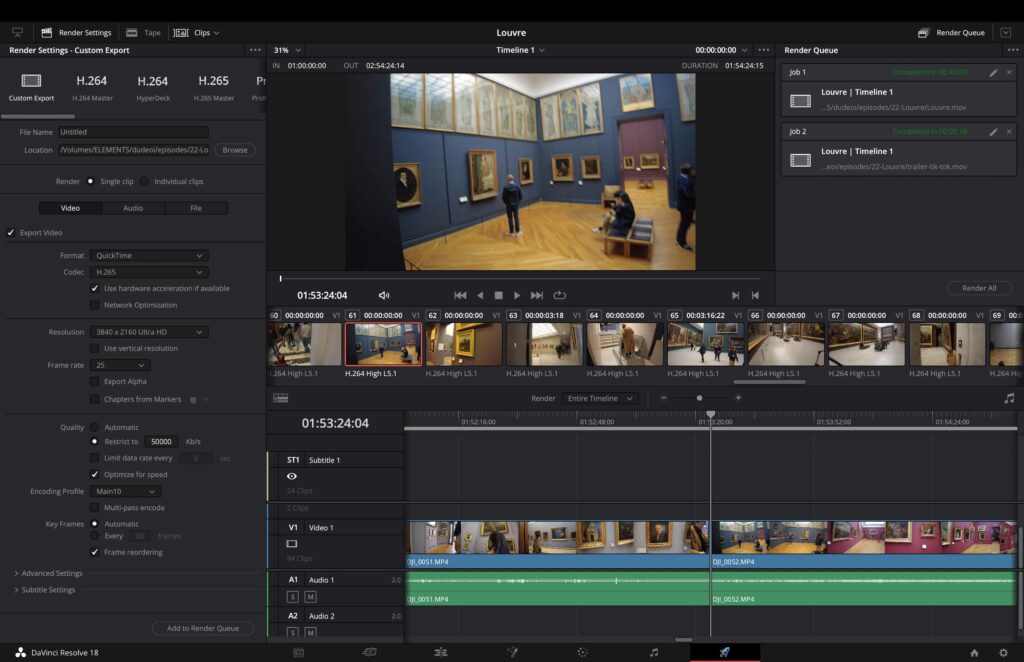
Finally, this tab is for delivering your project as a video. In this tab, you’ll be able to choose the settings of your export, such as resolution, codec, colorspace, etc. This is an important step as well for the final result of your video.
The overall experience
For us, the overall experience has been great. It’s not the easiest tool to use since it’s aimed to serve professionals as well.
The software is pretty complete; it includes most of the tools you’ll need for post-production. If the learning curve is important, it is still better than before, and it is getting better with each iteration.
We are still learning about DaVinci Resolve, and thanks to YouTube tutorials, we can easily learn everything we need to implement in our video.
Colorspaces
For me, the most painful thing to learn from DaVinci Resolve was how to set up the input, working, and output space colors.
Your export grading may look very different than the one you worked on in the software according to your colorspace set up.
I would highly suggest choosing these options, no matter the sources:
Project color management
Davinci YRGB Color Managed with automatic color
SDR
Export settings
Color space tag: P3-DCI
Gamma tag: SRGB
Bugs
DaVinci is very stable while you are working. The issue is that it will crash very often while exiting the application. For example, as soon as I save the project and exit with a quick command S and command Q, I am almost guaranteed to freeze the application.
Comparison
To be fair, I don’t have that much experience with Final Cut or Premier Pro, but at the same time, since this software has been released, it has been said to be the best for grading.
Today, it is becoming the best overall product in this market, so why bother trying something else?
OUR SPONSOR OF THE DAY : NEONNIGHT.FR
Verdict
8.5 out of 10
DaVinci Resolve Studio 18 is everything I need in post-production video software. You can complete all the steps you need within this well-organized user interface.
Being developed by Black Magic is also a guarantee for you to have great physical accessories, such as editing keyboards, grading panels, and even full post-production stations.
The best part is that this software is free for most people’s needs as long as they don’t shoot 10-bit footage. For professionals and amateurs, the studio version is not that big of an investment compared to the gear, and you’ll own the license for life.
No wonder so many content creators and video producers are switching to DaVinci Resolve. It’s actually the best option when it comes to all-in-one software for video editing.
Note
We highly suggest you get the Speed Editor if you are looking to get the DaVinci Studio license. It is on Thomann at 412 euros.
Informations
DaVinci Resolve Studio 18
Website : https://www.blackmagicdesign.com/fr/products/davinciresolve
Facebook : https://www.facebook.com/profile.php?id=100068600920166
Video Production : https://www.neonnight.fr


GIPHY App Key not set. Please check settings